So, you’re thinking about making your DIY music video? Wicked! Whether you’re an indie artist on a budget or just love the idea of getting hands-on with your visuals, a self-made music video can be a game-changer. But before you dive in, there are some key things to consider to ensure your video looks slick, professional, and engaging. Let’s break it down!
It’s easy to grab a camera and start filming, but trust me, a solid concept will save you time and stress. Think about:
Even if you’re going for a simple, raw performance, planning shot ideas in advance will give you a polished result. Mood boards and shot lists are your best mates here!
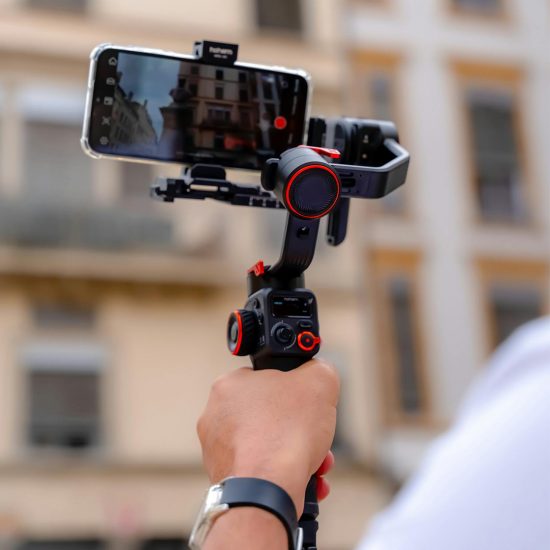
You don’t need a £5,000 camera to make a music video—your phone can do wonders if used right! Here’s what to focus on:
Top Tip: If using a phone, switch to manual mode for more control over exposure and focus!
Your setting sets the mood. Whether it’s a grungy alleyway, a serene field, or your own bedroom, think about:
If you’re on a tight budget, get creative—even a blank wall with cool lighting can look epic!


If you’re appearing in the video, make sure you nail your performance. Nothing kills a DIY video like bad lip-syncing. Here’s a trick:
Bonus Tip: Confidence is key! Even if you’re nervous, own your performance—energy and charisma can make even the simplest setup look amazing. The more comfortable you are, the more engaging your video will be!
Editing is where your footage comes to life. If you’re new to editing, start with user-friendly software like:
Things to focus on:

DIY music videos aren’t just about saving money—they’re an opportunity to express yourself and add your own creative flair to your music. Don’t stress if it’s not perfect—each video you make is a learning experience.
Got a DIY music video idea in mind? Go for it, experiment, and have fun! 🎥🎶
Need help polishing your edit or adding cool motion graphics? Let’s chat! 🚀
We noticed you're visiting from United States (US). We've updated our prices to United States (US) dollar for your shopping convenience. Use Pound sterling instead. Dismiss
